How to Use Glitsa Wood Flour Cement
When you are wanting to fill gaps, holes, or knots in a wood floor, reach for Glitsa Wood Flour Cement. This versatile filler can be mixed to match any wood floor at a consistency for full trowel filling to spot filling. No need to have multiple colors of filler sitting in your inventory.
Designed to be mixed with fine edger dust, Wood Flour Cement (WFC) allows you to make a filler that matches the floor being filled. In fact, it is so versatile that you can mix up a different color for the spot you’re filling, just by mixing in a different color of dust.
To make filler, you can use any fine dust (from your edger, Trio or multi-disc sander) and you can mix up only as much as you need for each job, so there is no waste. WFC dries quickly and very hard. It has good side-bonding, and it will also accept stains the same as the floor.
Application Method:
- Make sure you turn off all ignition sources like pilot lights or heaters. Be sure to ventilate the entire site since vapors can travel.
- After achieving a medium grit sanding, thoroughly vacuum the floor.
- Mix WFC and the fine dust in a clean container. Stir until well blended. Add WFC until the mixture becomes a ‘trowelable’, pudding-like consistency, or a dough-like consistency for spot filling.
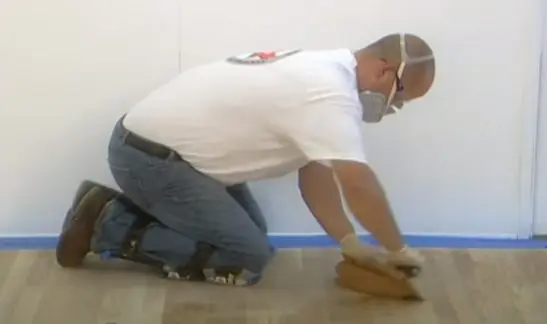
- Pour a small quantity of the mixture onto the floor. Using a smooth-edge finishing trowel push this mixture across the entire floor, concentrating on any large cracks. Depending on the size of the floor area, extra filler may have to be poured out of the container as you work.
- Trowel the floor clean so there are no puddles left behind. The filler should be left in the cracks only.
- After troweling the entire floor, pick up any excess material using a trowel and broad knife and return it to the container.
- You can sand again as soon as the filler is dry. Dry time will vary on several conditions including the weather, humidity, square footage, and how you mixed it up. We recommend drum sanding as screening or disc sanding will not remove excess WFC. If, after the second sanding, any large cracks show signs of needing more filler, use a broad knife to spot fill and let it dry before the sanding again.
FAQs
Q: What do I mix with the Glitsa Wood Flour Cement?
A: Always use fine edger dust (100 grit or finer). Use red oak dust for red oak floors, walnut dust for walnut floors, etc.
Q: What is the square foot coverage of Glitsa Wood Flour Cement?
A: Coverage rate depends on how thick you mix WFC with your sanding dust. You can make the texture anywhere from a pudding-like consistency for trowel filling, to a dough-like consistency for spot filling.
Q: What is the dry time of Glitsa Wood Flour Cement?
A: Dry times depend on how thick you mix WFC, how large of an area you are filling, and what the environmental conditions are during application and drying.
Q: How much sanding dust do you mix with Glitsa Wood Flour Cement?
A: Start with a sanding dust to WFC mixing ratio of 2 to 1. If the mixture thickens, so it becomes hard to trowel, add more Wood Flour Cement – never add thinner.
Q: Do I have to wear a respirator?
A: Yes. Wear a NIOSH/MSHA approved organic vapor respirator to prevent overexposure to evaporating solvent.
Q: How much do I have to sand after filling?
A: All of the excess filler must be removed during the final sanding. Any Wood Flour Cement left in grain around cracks will show through the finish.
Q: What is the best tool to use to apply Glitsa Wood Flour Cement?
A: Stainless steel trowels work best. Other types of steel trowels may discolor the filler.
Q: What do I use for clean up?
A: For cleaning tools, use a lacquer thinner or VOC-compliant solvent.